Bathroom Remodeling in Riverside, CA

Notes on full bathroom remodeling in Riverside, CA, from demo and waterproofing to shower pans, tub-to-shower conversions and tile in older Inland Empire homes.

What We Cover

Bathroom Remodeling in Riverside, CA

A full bathroom remodel in Riverside starts with demolition and ends with grout and a vanity set level, and nearly everything that matters happens in between, behind walls nobody will see again. Houses near Mount Rubidoux and the older blocks around the Mission Inn carry decades of patched plumbing, tired framing and tile laid straight over old backing. Opening the room to the studs is the only honest way to find out what a given house has.

Waterproofing and the shower pan

A shower fails from the inside out. The shower pan, the cement board and the waterproofing membrane do the real work, and the tile and grout are the finish on top. A crew sets the pan on a firm bed, laps the membrane over its edge, seals every corner and valve opening, and floods the pan overnight before any tile goes on. That one test saves more bathrooms than any material choice.

Tub-to-shower conversions and curbless designs

Swapping a tub for a shower means moving the drain, reframing the alcove and adding blocking for a seat or grab bar. A curbless shower goes further and recesses the floor, which behaves differently on a concrete slab than on a raised wood floor. Both jobs depend on slope, and a quarter inch of fall per foot toward the drain is the number crews keep in mind.

Heat, ventilation and old pipes

Summers in the Inland Empire bake attics and push households to keep windows shut, so a bathroom fan needs a short, insulated duct that actually reaches the outdoors. Older houses often hide galvanized supply pipe, narrowed by scale, and the open wall at rough-in is the moment to replace it. Dry heat also changes how thinset and mortar cure, and setters adjust their hours around it.

Guides

The pages here cover waterproofing, tub-to-shower conversions, bathroom ventilation, galvanized plumbing, curbless showers and the order of work in a full bathroom remodel. They are written for Riverside County homes, from bungalows near the Santa Ana River to tract houses toward the Box Springs Mountains.

Latest Guides

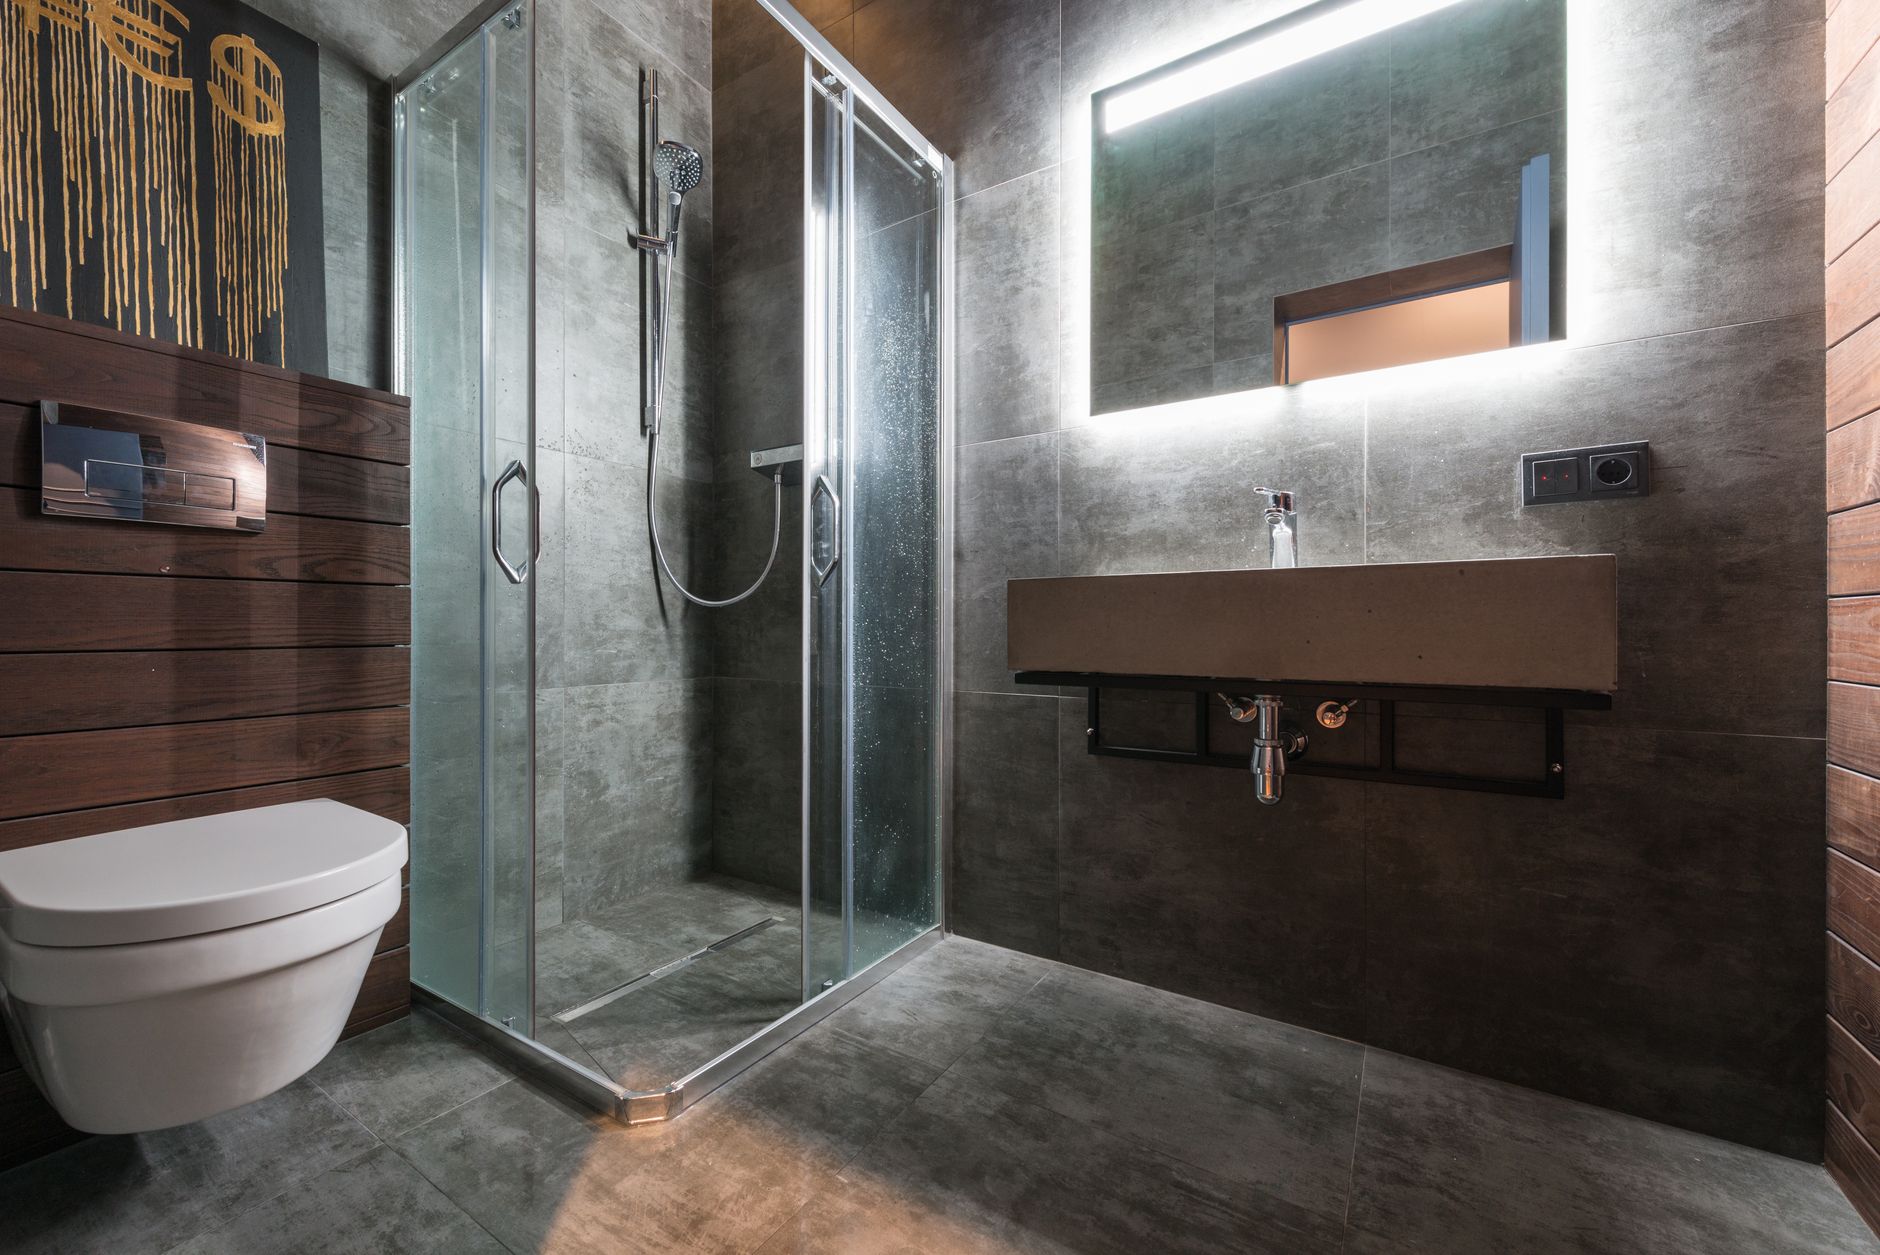
Sleek modern bathroom featuring a glass shower and elegant fixtures in Riverside, CA

Choosing Tile and Grout for a Shower That Faces Riverside Hard Water

2026-10-06

Why does hard water change how a Riverside shower should be tiled?

Water in the Inland Empire carries a lot of dissolved minerals, and anyone who has scraped a white crust off a glass shower door in Riverside knows it. That crust is calcium and other salts left behind when the water evaporates. In a shower, the same minerals settle into every low spot on the wall and floor, and the first place they collect is the grout joint. A tile choice that looks fine in a showroom can turn into a weekly scrubbing job a year later, and the cause is almost always the surface and the number of joints rather than any defect in the work.

The decision comes down to three things: how much grout line the design creates, how porous the tile and the grout are, and how the surface handles being wet most mornings. Everything else, color, size, pattern, is taste. This article walks through those three, starting with the tile body and ending with the grout, because the grout is where most showers in older Riverside houses show their age first.

What kinds of tile suit a shower?

Porcelain, ceramic and natural stone all get used in showers around Riverside County, and each behaves differently once it has been wet for ten years. The table below compares the common choices on the points that matter for a wet room.

Tile typeWater absorptionGrout linesUpkeep in hard water
PorcelainVery low, dense bodyFew if large formatWipes clean, minerals sit on the surface
Glazed ceramicLow to moderate, glaze protects the faceModerateEasy until the glaze wears at edges
Subway tileDepends on the body, usually ceramicMany, short jointsMore scrubbing because of the joint count
MosaicVaries by materialVery manyHardest to keep clean on walls, useful on a shower floor for grip
Natural stoneHigher, needs sealingModerateMineral staining shows, sealer wears off

Porcelain is the usual answer for a shower in a house that sees a lot of hard water, since the body barely absorbs anything and the face stays smooth. Glazed ceramic wall tile is fine on walls that never take a direct spray. Stone looks warm but asks for a sealer that has to be renewed, and in a house where nobody will renew it, the stone slowly takes up the minerals and the soap.

How does tile size affect the work behind the wall?

Large format porcelain has fewer joints, which helps with cleaning, but it asks more of the substrate. A big sheet of tile cannot follow a wavy wall the way a small tile can. Older Riverside homes near the Mission Inn and along the streets below Mount Rubidoux often have plaster walls that look flat to the eye and are not, and once the plaster is gone and the studs are exposed, the studs themselves can be bowed or twisted. A crew checks the wall with a long straightedge before cement board goes up, and shims or planes the studs where the face would otherwise wander.

A cement board wall that is flat within a small tolerance lets large tile lie without lippage, which is the term for one tile edge sitting proud of its neighbor. A wall that was not flattened shows lippage as a line of shadows once the bathroom lights come on. Small tile and mosaic hide a lot of that, which is one reason they were common on older walls, and it is also why they need so much more grout.

The shower floor is a separate question. A floor that has to slope toward a center drain wants small tile or mosaic, because a large tile cannot bend into a cone. A linear drain along one wall changes that, since the slope runs in a single direction and a larger tile can follow it. This is why the drain type is picked before the floor tile, not after.

What is the difference between grout types?

Grout fills the joints and also takes a lot of abuse. The common types in a shower are cement based grout, epoxy grout and a premixed urethane style, and the differences are about how they cure and what they resist.

  • Cement based grout is mixed with water, sets hard and is slightly porous. It comes in sanded and unsanded forms, and sanded grout suits the wider joints on floors. It should be sealed after it cures, and the sealer needs renewing as time passes.
  • Epoxy grout is a two part resin that does not absorb water and resists staining from soap and minerals. It sets faster than cement grout and is harder to clean off the tile face during installation, so it takes a practiced hand.
  • Premixed urethane style grout comes ready to use and stays flexible, which helps in a room where the tile and the framing move at different rates.

Whichever type goes in, the grout color matters more than people expect. A mid gray hides mineral film far better than white, and a grout close to the tile color makes the joints disappear visually, so a little staining does not show. White grout against dark tile is the combination that looks dirty the fastest.

Why do the corners get caulk and not grout?

Where two planes meet, such as the wall to the floor, the wall to the wall and the tile to the tub or shower pan, a rigid grout joint will crack, because those planes move slightly with temperature and with the load on the floor. These joints get a flexible sealant, normally a silicone caulk matched to the grout color, and it goes in after the grout has cured. The movement joint at the base of the wall is the one most often skipped by mistake. When it is grouted solid, a hairline crack appears within a season, and water finds that crack on the way to the cement board.

Caulk is a maintenance item. A bead that has pulled away or turned dark at the edge is cut out and replaced, which takes a short afternoon and prevents most of the leaks that get blamed on the waterproofing.

How do the layers behind the tile fit in?

Tile and grout are the surface, and underneath them sit the layers that keep the building dry: the waterproofing membrane, the cement board and the shower pan. A shower pan that was flood tested and a membrane that was applied to the right thickness mean the tile can do its job, which is to look good and shed most of the water. The tile does not have to be perfect at stopping water, and no grout line is completely watertight, which is why the membrane exists.

The thinset that bonds the tile to the board has its own demands. In the dry heat of a Riverside summer, a thinset bed can skin over in minutes if the room is hot and the air is moving. Tile pressed into a skinned bed bonds poorly, and the failure shows up months later as a hollow sound under a tap. Setters in the Inland Empire often keep the bathroom closed, wet the cement board lightly before setting, and spread only as much thinset as they can cover quickly. After the tile is placed, a back and forth tap test finds hollow spots while the bed is still workable.

Which choices are about looks and which are about function?

Color, pattern and finish are free to vary, and that is where a bathroom gets its personality. Function sits in a smaller set of choices: a dense, low absorption tile on the wet surfaces, as few joints as the walls will allow, a grout that resists staining, flexible sealant in the movement joints, and a slope that drains. A bathroom that gets those right looks the same in ten years as it did the week it was finished, and one that does not usually shows the problem first in the grout and the caulk, long before anything behind the wall fails.

Hard water will always leave a film, and a daily squeegee on the glass and the lower tile is the simplest defense. The design decides how much work that film creates, and the fewer the joints and the denser the tile, the less there is to do.
Read more →

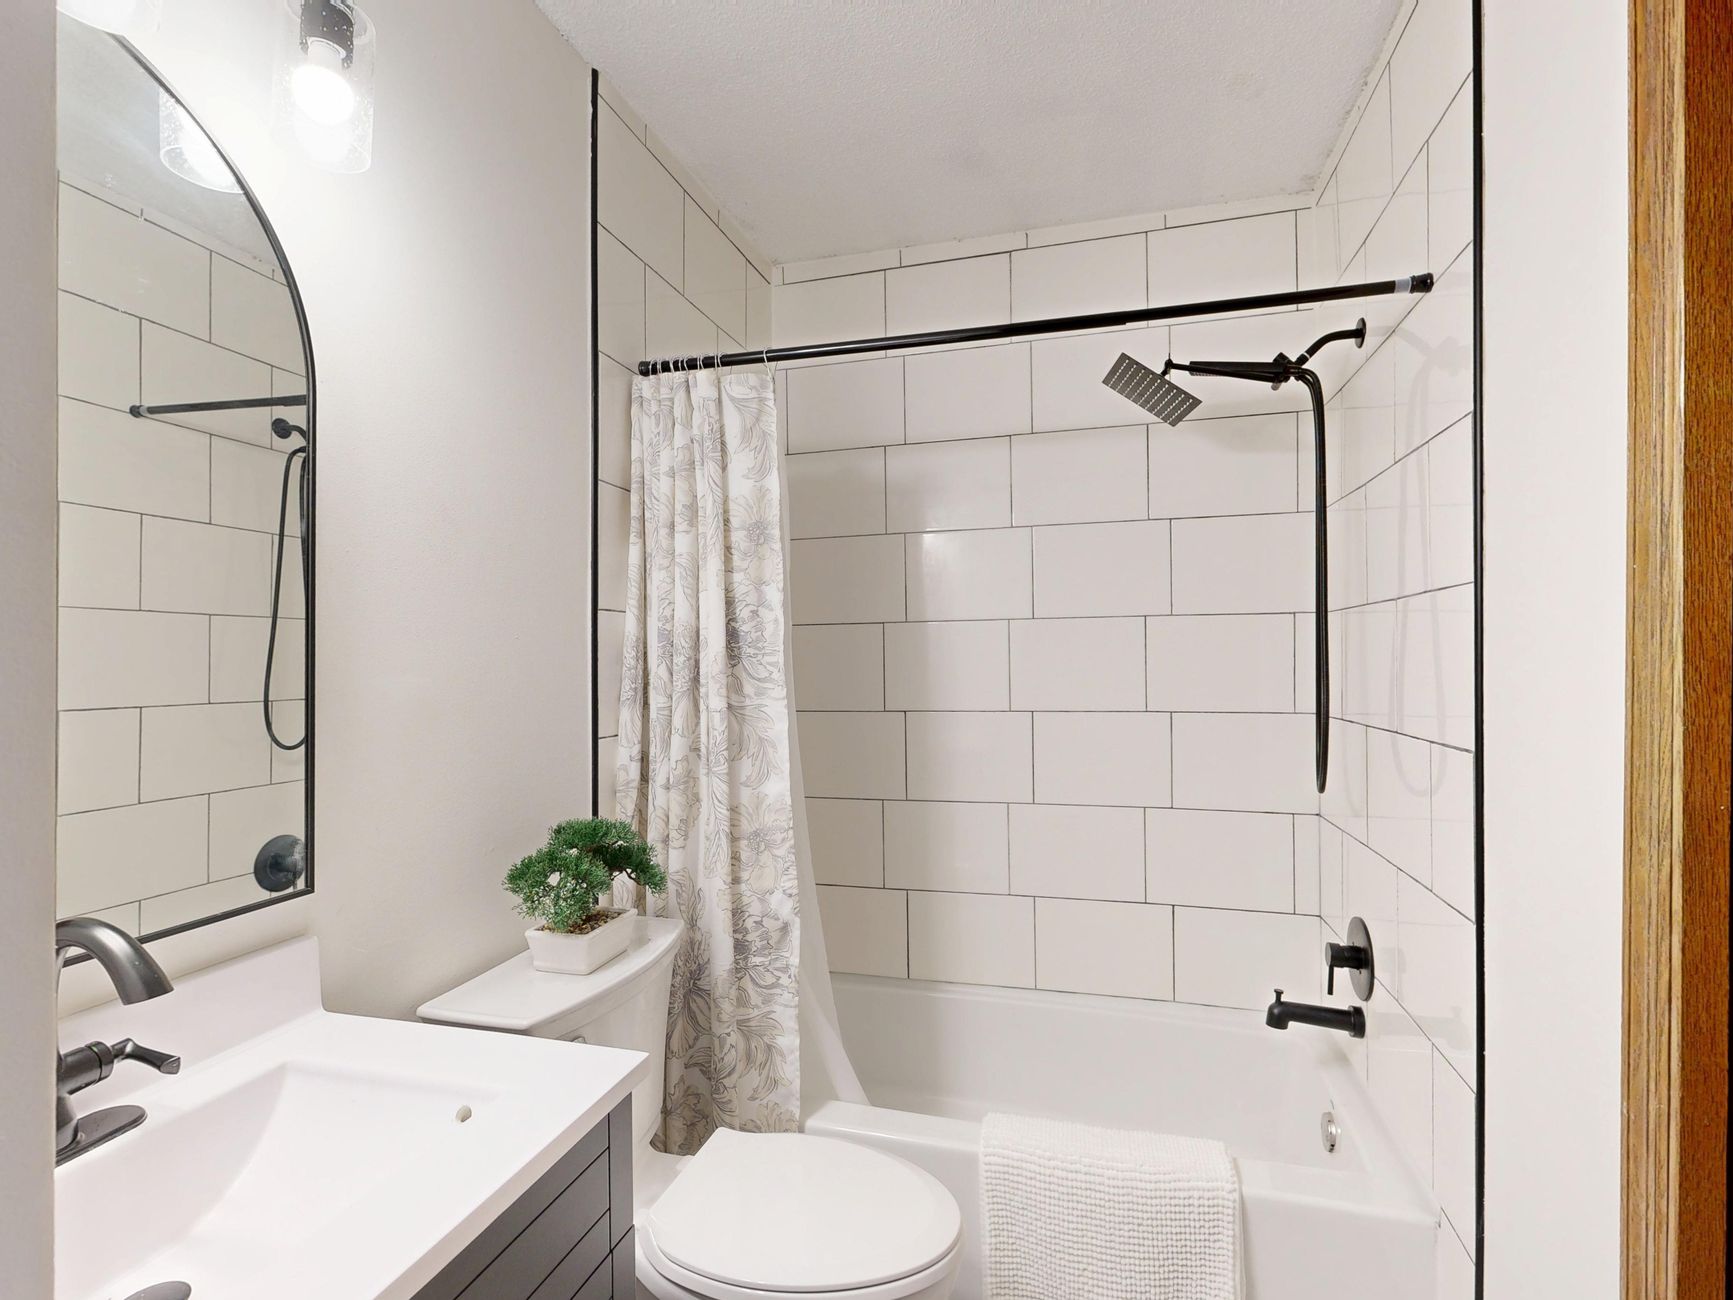
Sleek and clean modern bathroom with white tiles and black fixtures in Riverside, CA

Vanity Questions to Settle Before the Cabinet Is Ordered in a Riverside Bathroom

2026-10-06

The vanity is the one piece of a bathroom remodel that gets chosen from a catalog and then has to fit a room that was built decades ago, often by someone who never expected it to be replaced. In Riverside, where many bathrooms date from the mid-century tract years or earlier, the gap between the cabinet in the picture and the wall it has to stand against is where most of the surprises come from. The questions below are the ones that come up on site before a vanity is ordered, and they are answered from the plumbing outward.

Where does the vanity plumbing actually come from?

Behind the vanity, two supply stops and a drain come out of the wall or the floor. The stops feed the faucet, and the drain runs to a trap and then into the house waste line. In a house with a raised wood floor, the drain often drops through the subfloor into the crawlspace, and in a house on a slab it almost always comes out of the wall. A new vanity with a different layout of drawers and shelves can land right on top of that pipe, so the cabinet is checked against the pipe locations before anything is cut.

Older Riverside houses frequently have galvanized supply pipe to the vanity, and the stops sit on short nipples threaded into that pipe. When a new faucet goes on and the old stop will not turn, or leaks as soon as it is touched, the real fix is to open the wall and replace the section, because a fresh stop on a corroded nipple is a short-term arrangement. This is also why a vanity is usually swapped during a full remodel, when the wall is already open, and not as a single item on its own.

Does the sink style change the plumbing?

It does, in a few specific ways. An undermount sink hangs below the countertop, with the rim hidden underneath, and it needs a solid surface like quartz or stone that can be cut cleanly and sealed at the edge. A drop-in sink sits on top and works with almost any surface. A vessel sink stands above the counter like a bowl, which raises the faucet requirement: the faucet has to be tall enough to clear the bowl rim, and the spout has to reach the middle of the basin.

The drain height changes with each of these. A vessel sink drain starts higher than an undermount drain, and the trap arm has to meet the wall pipe at the right level. A crew relocates the drain stub and the supply stops where needed during plumbing rough-in, and that is far simpler with the wall open than after the cabinet is in.

What should a countertop be made of in a bathroom?

A bathroom countertop sits in a damp room, takes toothpaste, hair products and the occasional spilled bottle, and lives next to a basin that is wet most of the day. The practical choices are quartz, solid surface, natural stone and laminate, and they differ in how they handle water at the edges.

  • Quartz is dense, does not need sealing and resists most household stains. Heat from a curling iron set down by accident is the main risk.
  • Solid surface material can have the sink molded in, which removes the joint where water usually creeps in.
  • Natural stone is beautiful and can stain from dyes and acidic products unless it is sealed and resealed.
  • Laminate is light, but a chipped edge lets water reach the particleboard underneath, where it swells.

The sink cutout and the faucet holes are cut to a template taken from the actual cabinet and the actual fixtures. A fabricator who measures after the cabinet is set, and not before, avoids the common problem of a faucet that sits an inch too close to the backsplash.

How wide and how tall should the vanity be?

Width follows the wall, and the plumbing and the door swing set the limits. A vanity has to leave room for the toilet to be used and for the door to open, and in small Riverside bathrooms built around the time of the Mission Revival and bungalow styles, the room is often narrower than a modern cabinet expects. Standard cabinet depth is deeper than many older bathrooms can accommodate, and a shallower vanity, sometimes called a narrow depth cabinet, solves that without sacrificing a drawer or two.

Height is a comfort choice. Older vanities stand lower than current ones, and a taller cabinet is easier on the back for most adults, though it can be awkward for children. The mirror and the light fixture are positioned after the vanity height is set, and the electrical boxes for them are placed during rough-in so the wall does not need patching later.

What does the wall behind the vanity need?

That wall carries more weight than it looks like it should. A stone top on a full cabinet is heavy, and a wall mounted vanity is heavier still on the studs that hold it. Blocking, which is plain lumber set between studs, gets added during framing so the cabinet screws into solid wood at every fixing point. This is easy when the wall is open and nearly impossible once drywall is up.

The wall also takes water. Splashes from the basin, a shower next door and a humid room all hit the paint behind the vanity, and moisture resistant board or a tiled backsplash is a sensible protection. A bathroom with a poor exhaust path tends to show peeling paint behind the mirror first, because that wall sees steam, and a fan with a proper duct to the outdoors is simpler to fix than a wall that has gone soft.

Can an older cabinet or plumbing layout be kept?

Sometimes. A solid wood vanity from an older house can be refinished and given a new top, and the plumbing behind it can stay if the pipes are sound and the stops work. The decision hinges on what the open wall shows. A vanity that sits over a leaking trap or a rusted supply is better replaced, because the wood at the base will have absorbed years of slow moisture. Soft wood that crumbles under a screwdriver tells the story quickly.

Where the layout stays the same, the work is faster and the rough-in inspection is simpler. Where the layout changes, the plumbing is relocated, and the inspector looks at the new lines before they are covered. Either way, the vanity is the last cabinet to go in, after the tile and the paint, so it is not scratched during the messy parts of the job.

What gets installed first, and what gets installed last?

The order matters more than it seems. Rough plumbing and blocking go in early, while the wall is open. Cement board, waterproofing and tile follow in the shower area and on any tiled floor. The vanity, countertop and faucet come after that, along with the mirror and the light, and the final caulk goes along the countertop and backsplash once everything is set. A vanity set before the floor tile is laid sits on a raised floor and leaves a gap that must be filled with trim, and a floor tiled around a vanity looks fine until the vanity is replaced a decade later.

For most Riverside bathrooms, the vanity ends up as the visible star of a remodel, yet the decisions that decide whether it works are made behind the wall.

Read more →